 Nederlands
 Français
 Deutsch
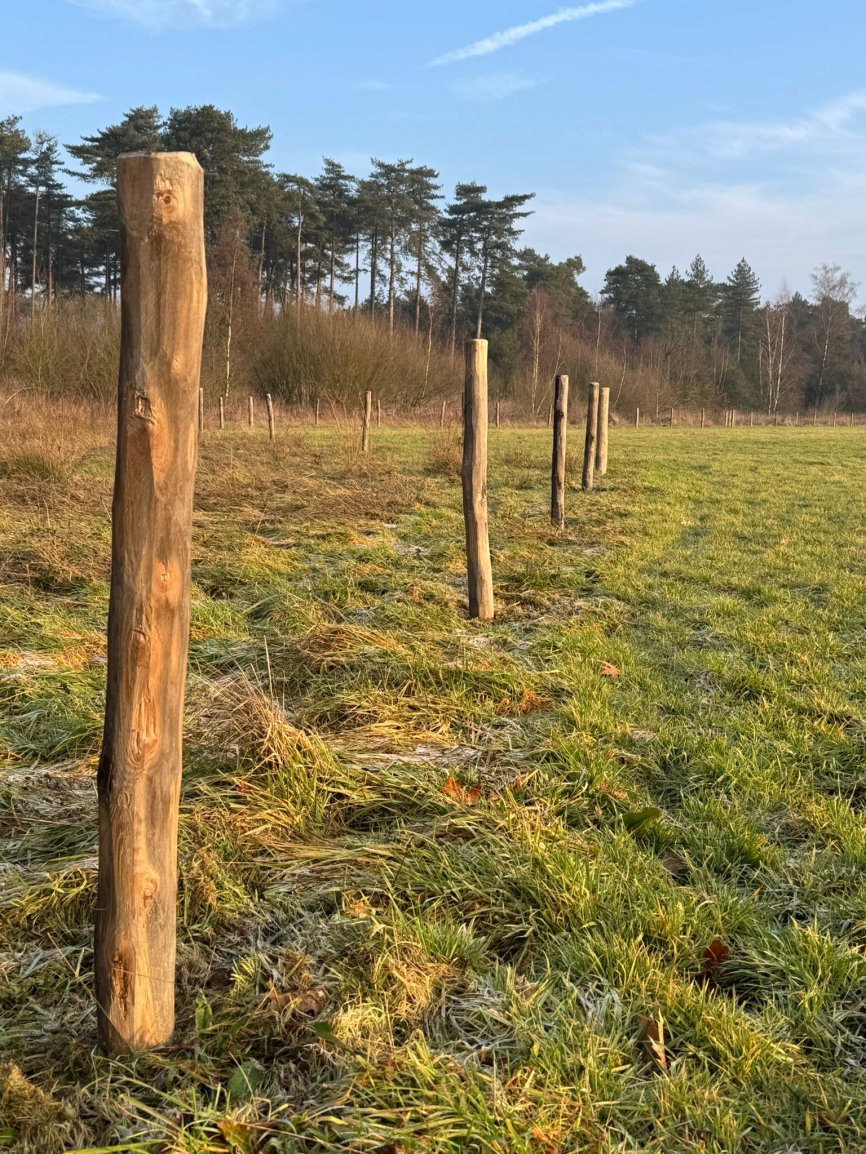
A good fence starts with correctly installed posts. Whether you want to enclose a pasture for animals or neatly define your garden, proper preparation ensures your fence will remain sturdy for years to come.
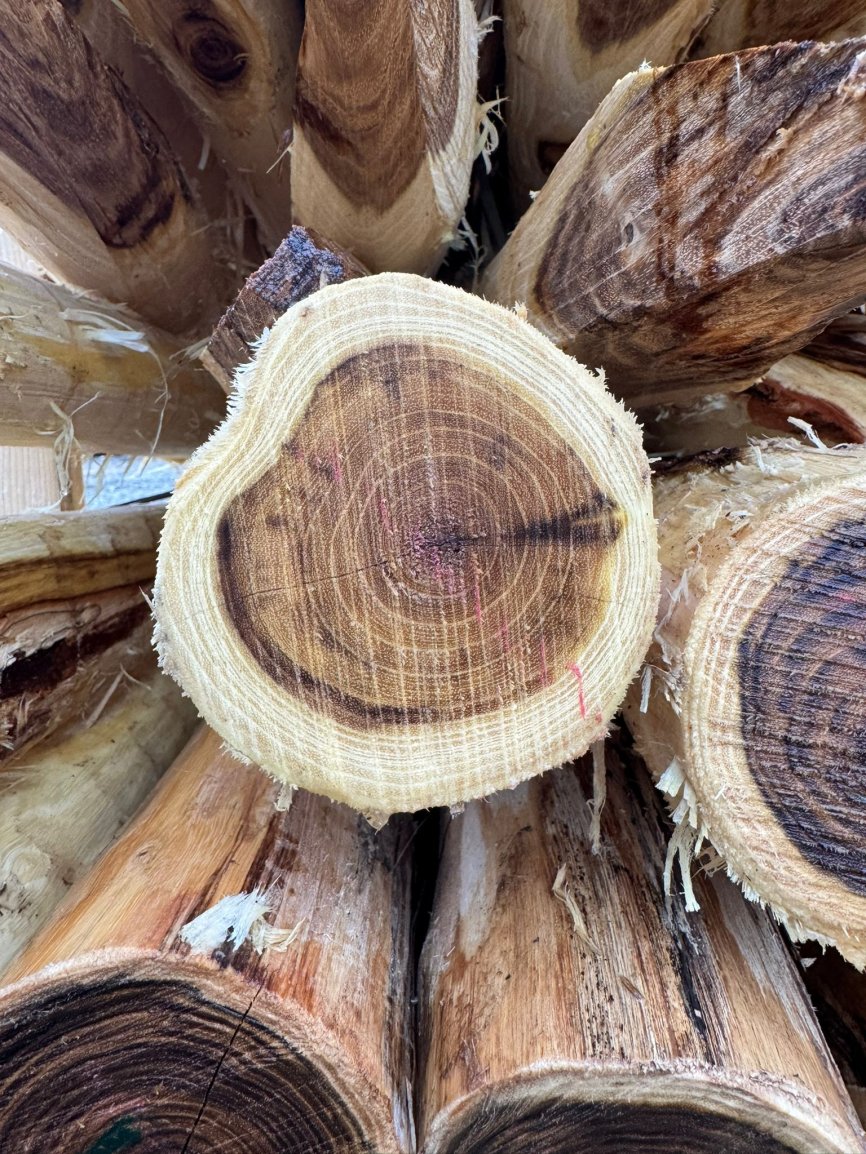
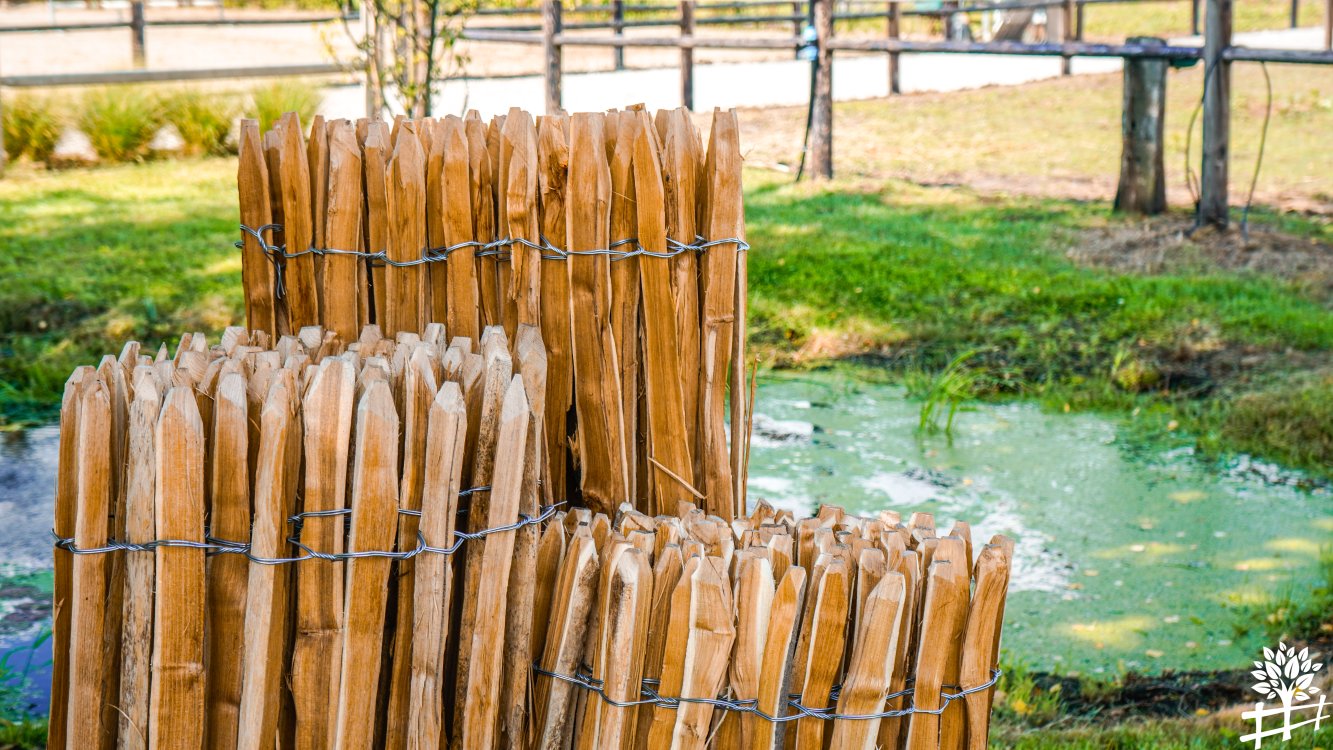
Our Robinia posts are ideal for ground contact. They are naturally resistant to moisture and last for many years without treatment. These posts are peeled (the bark has been carefully removed) and pointed at the bottom. We have various lengths and diameters available.
If you are looking for Robinia posts, request a free quote. Need help choosing the right length or diameter? We are happy to help you find the perfect solution.
Once you’ve chosen the correct size, here’s a step-by-step guide on how to install your posts:
1. Determine the line of your fence
Start by marking your lines. Place the start, corner, and end posts, and stretch a cord or wire along them. This ensures a straight alignment and shows exactly where each post should go. Also, consider in advance any gates or openings.
2. Choose the correct spacing between posts
The distance depends on what you will place between the posts:
For wire, we recommend spacing posts about 3–4 meters apart. Too much distance can cause the wire to sag over time.
For mesh, a spacing of 2–3 meters is recommended so the mesh can be tightly secured.
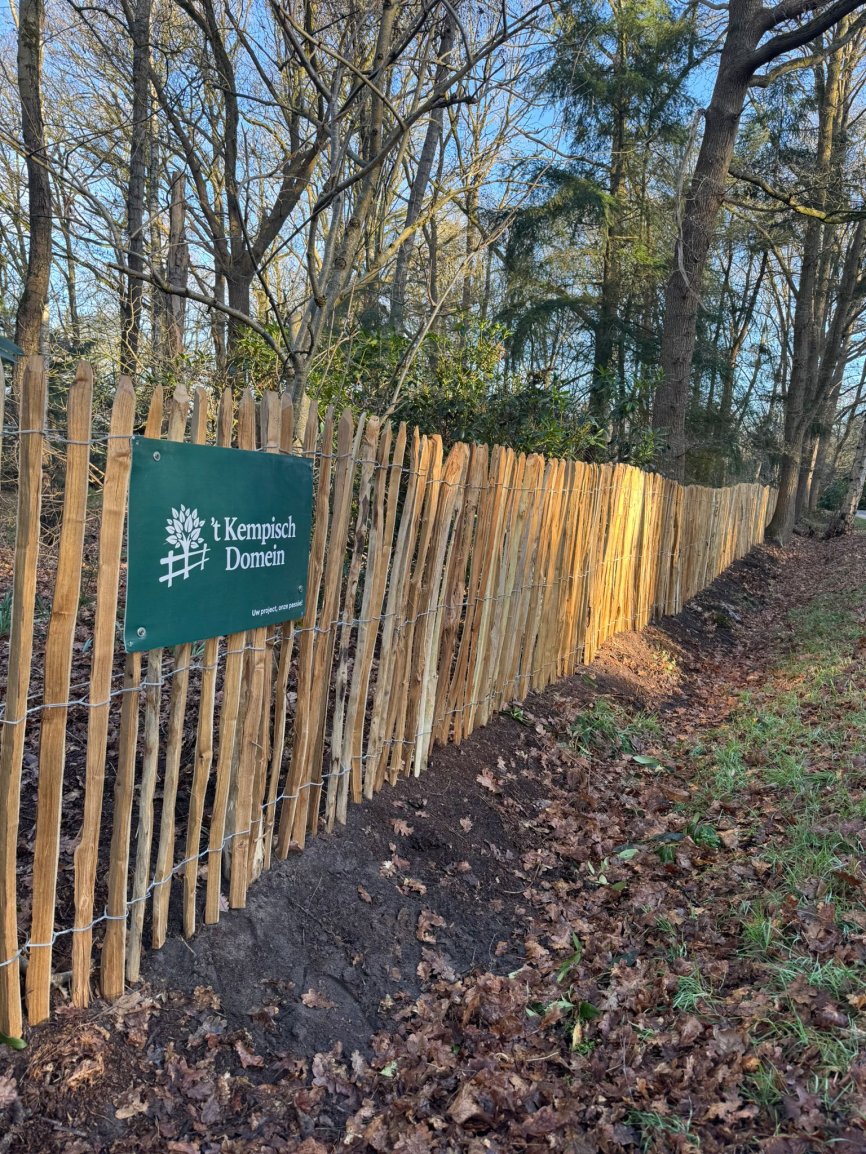
For sheep fencing, posts should be placed approximately every 2 meters for easier installation and extra stability.
Unsure? We are happy to help you choose the right spacing.
3. Dig sufficiently deep holes
A common rule is that about 1/3 of the post should be in the ground.
For a 180 cm post, this means approximately 60 cm in the ground.
Use a post hole auger if possible. The firmer the post sits, the sturdier your fence will be and the longer it will last. If you don’t have an auger, you can dig with a spade, but this requires more effort and may result in less stability.
You can also rent a post hole auger from us – contact us for more information.
Once the post reaches the desired depth, fill the surrounding hole with sand and tamp it down firmly. You can use the end of a broom handle to compact the space around the post.
4. Secure corner and end posts extra firmly
These posts bear the most tension. Preferably choose slightly thicker posts and secure them firmly.
5. Check that everything is straight
Use a spirit level to ensure the posts are vertical and regularly check your alignment. Small adjustments during installation prevent frustration later.
6. Attach wire, mesh, or sheep fencing
Once all posts are firmly in place, attach your wire or sheep fencing. Ensure it is taut so the fence looks neat and stays strong.
Need wire, mesh, or sheep fencing? We have everything you need for your enclosure in one place.
Questions or need advice?
Feel free to contact us. We are happy to help you create a sturdy, practical, and beautiful fence.